Learning how to draw a piano keyboard easy can be an exciting and rewarding experience for both kids and adults. Whether you're an aspiring artist or simply looking for a fun creative activity, this guide will walk you through every step of the process. Drawing a piano keyboard may seem challenging at first, but with the right techniques and a bit of practice, you'll be able to create a beautiful and realistic drawing in no time.
Art is a powerful form of self-expression, and drawing musical instruments like a piano keyboard allows you to explore your creativity while connecting with the world of music. In this article, we'll provide you with easy-to-follow instructions, helpful tips, and useful resources to ensure your drawing journey is both enjoyable and successful.
By the end of this guide, you'll not only know how to draw a piano keyboard easy but also gain a deeper appreciation for the intricate design of this iconic instrument. So, grab your pencil and paper, and let's get started!
Read also:Eva Green Daughter A Comprehensive Look At Her Life Career And Family
Table of Contents
- Introduction
- Tools You'll Need
- Understanding the Piano Keyboard Layout
- Step-by-Step Guide to Draw a Piano Keyboard
- Tips for Drawing a Piano Keyboard Easy
- Common Mistakes to Avoid
- Creative Variations for Your Drawing
- Using Software to Draw a Piano Keyboard
- Recommended Resources for Learning
- Conclusion
Tools You'll Need to Start Drawing
Before diving into the process of how to draw a piano keyboard easy, it's important to gather the right tools. The quality of your tools can significantly impact the outcome of your artwork. Here's a list of essential items you'll need:
Basic Drawing Tools
- Pencils (HB, 2B, 4B)
- Eraser (kneaded and standard)
- Sharpener
- Ruler or straight edge
- High-quality drawing paper
These tools will help you create clean lines and achieve the desired level of detail in your drawing. If you're planning to add color to your piano keyboard, consider using colored pencils or markers for a vibrant finish.
Understanding the Piano Keyboard Layout
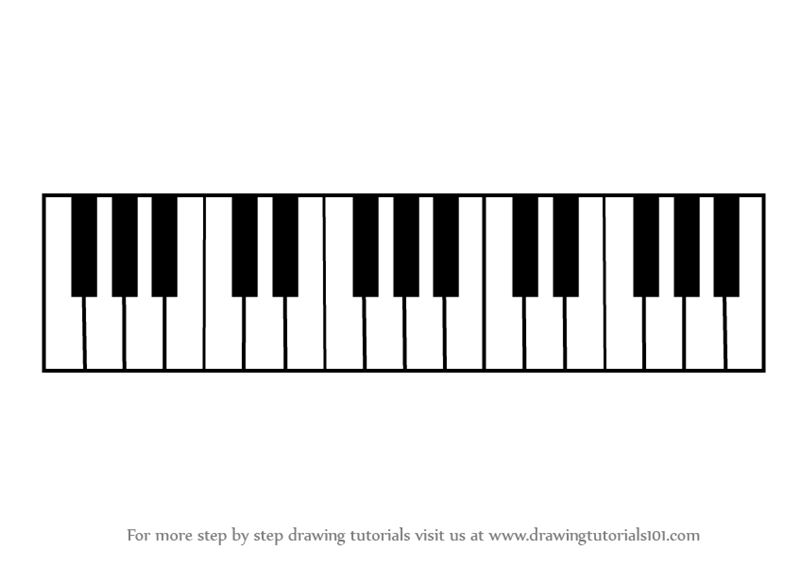
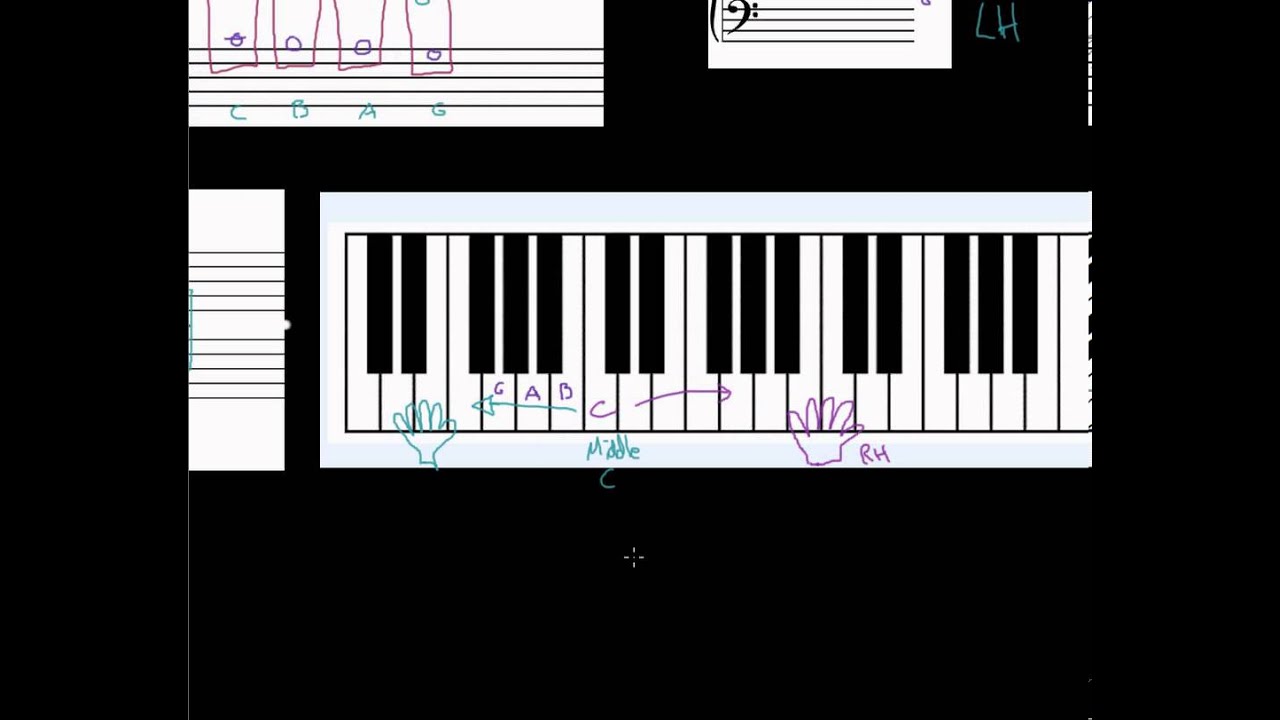
To draw a piano keyboard easy, it's crucial to understand its structure and layout. A standard piano keyboard consists of both white and black keys, arranged in a repeating pattern of octaves. The white keys represent the natural notes (A, B, C, D, E, F, G), while the black keys represent the sharp and flat notes.
Key Features of a Piano Keyboard
- White keys are longer and wider than black keys.
- Black keys are grouped in sets of two and three, creating a distinct pattern.
- The groups of black keys are separated by white keys, making it easier to identify specific notes.
Understanding these features will help you create a more accurate and visually appealing drawing. Spend some time studying the keyboard layout before starting your sketch.
Step-by-Step Guide to Draw a Piano Keyboard
Now that you have your tools and understand the keyboard layout, let's dive into the step-by-step process of how to draw a piano keyboard easy. Follow these instructions carefully to achieve the best results.
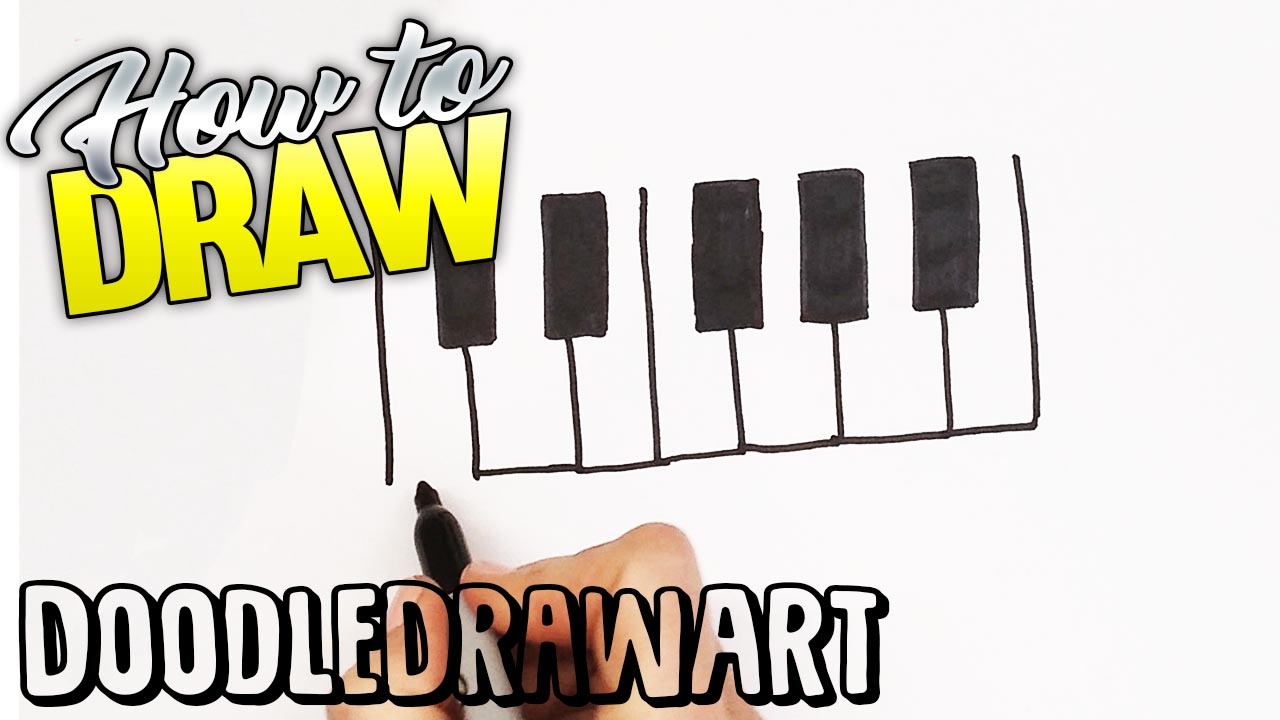
Step 1: Sketch the Outline
Begin by drawing a rectangular shape to represent the overall size of the keyboard. This will serve as the foundation for your drawing.
Read also:Elon Musk Fat Understanding The Myth And Reality
Step 2: Add the White Keys
Divide the rectangle into equal sections to represent the white keys. Ensure the spacing between the keys is consistent for a realistic look.
Step 3: Add the Black Keys
Using the pattern of two and three black keys, draw smaller rectangles on top of the white keys. Pay attention to the placement and spacing of the black keys.
Step 4: Refine the Details
Erase any unnecessary lines and refine the edges of the keys. Add shading to give your drawing depth and dimension.
Step 5: Final Touches
Once you're satisfied with the structure, add any additional details such as the keyboard frame or decorative elements. If desired, color your drawing for a more polished appearance.
Tips for Drawing a Piano Keyboard Easy
Here are some additional tips to help you improve your drawing skills and make the process more enjoyable:
- Start with light pencil strokes to allow for easy corrections.
- Use a ruler to ensure straight and even lines.
- Practice drawing the keyboard layout separately before incorporating it into your artwork.
- Experiment with different shading techniques to enhance the realism of your drawing.
Remember, practice makes perfect. The more you practice, the better your drawings will become.
Common Mistakes to Avoid
When learning how to draw a piano keyboard easy, it's common to make a few mistakes. Here are some pitfalls to watch out for:
- Uneven spacing between keys, which can make the keyboard look distorted.
- Ignoring the distinct pattern of black keys, leading to an inaccurate representation.
- Overworking the drawing by adding too many unnecessary details.
Avoiding these mistakes will help you create a more professional and polished drawing.
Creative Variations for Your Drawing
Once you've mastered the basics of how to draw a piano keyboard easy, consider experimenting with creative variations. Here are a few ideas to inspire you:
1. Add Musical Notes
Incorporate musical notes into your drawing to enhance the musical theme.
2. Create a 3D Effect
Use shading and perspective techniques to give your piano keyboard a three-dimensional appearance.
3. Draw a Digital Keyboard
Challenge yourself by drawing a modern digital keyboard with additional features and buttons.
These variations will keep your drawing sessions fresh and exciting while allowing you to explore new artistic techniques.
Using Software to Draw a Piano Keyboard
If you prefer digital art, there are several software options available to help you create stunning piano keyboard drawings. Programs like Adobe Illustrator, Procreate, and CorelDRAW offer advanced tools and features to enhance your artwork. These platforms provide endless possibilities for customization and experimentation.
Recommended Resources for Learning
To further develop your skills, consider exploring the following resources:
- YouTube Tutorials: Find step-by-step video guides on how to draw a piano keyboard easy.
- DeviantArt: Discover inspiration and connect with fellow artists.
- ArtStation: Explore professional artwork and gain insights from experienced artists.
These platforms offer valuable resources and communities to support your artistic growth.
Conclusion
Learning how to draw a piano keyboard easy is a rewarding experience that combines art and music. By following the steps outlined in this guide and practicing regularly, you'll be able to create beautiful and realistic drawings. Remember to pay attention to detail, avoid common mistakes, and have fun experimenting with creative variations.
We encourage you to share your artwork with others and continue exploring the world of art. Don't forget to leave a comment below and let us know how your drawing journey is going. For more articles and tutorials, feel free to explore our website. Happy drawing!