Connecting remote IoT devices securely through Peer-to-Peer (P2P) SSH on Ubuntu is a critical aspect of modern networking and cybersecurity. As more devices become connected, ensuring secure communication between them is essential to protect sensitive data and maintain privacy. This article will provide an in-depth guide on how to achieve this effectively while adhering to best practices.
In the rapidly evolving landscape of the Internet of Things (IoT), securing remote connections has become a top priority for businesses and individuals alike. With countless IoT devices being deployed globally, ensuring secure communication is not just a technical requirement but a necessity for protecting sensitive information.
This article will walk you through the process of setting up a secure P2P SSH connection on Ubuntu, highlighting the importance of encryption, key management, and firewall configurations. By the end of this guide, you will have the knowledge and tools to implement a robust and secure IoT network.
Read also:Alysha Clark Wife Unveiling The Life Achievements And Impact
Table of Contents
- Introduction to IoT and SSH
- Why Secure IoT Connections Are Essential
- Setting Up Ubuntu for IoT SSH
- Configuring SSH for Secure IoT Connections
- Setting Up P2P SSH Connections
- Implementing Firewall Rules for Security
- Enhancing Security with Encryption
- Managing SSH Keys Effectively
- Troubleshooting Common Issues
- Conclusion and Next Steps
Introduction to IoT and SSH
Understanding IoT Networks
The Internet of Things (IoT) refers to the interconnected network of physical devices, vehicles, appliances, and other objects embedded with sensors, software, and connectivity that enable them to exchange data. IoT devices have revolutionized industries such as healthcare, agriculture, manufacturing, and smart homes.
Role of SSH in IoT
Secure Shell (SSH) is a cryptographic network protocol used to secure communications between devices over an unsecured network. It provides a secure channel for remote access and file transfer, making it an ideal choice for IoT applications where security is paramount.
Why Use Ubuntu for IoT?
Ubuntu is a popular Linux distribution known for its stability, security, and ease of use. Its robust support for networking and security features makes it an excellent choice for setting up secure IoT environments.
Why Secure IoT Connections Are Essential
Threats to IoT Devices
IoT devices are vulnerable to various security threats, including unauthorized access, data breaches, and malware attacks. These threats can compromise sensitive data and disrupt critical operations.
Consequences of Insecure Connections
Failure to secure IoT connections can lead to severe consequences, such as financial losses, reputational damage, and legal liabilities. Ensuring secure connections is essential for protecting both personal and organizational data.
Best Practices for IoT Security
Implementing best practices such as encryption, strong authentication, and regular updates is crucial for maintaining the security of IoT devices. These practices help mitigate risks and ensure the integrity of data transmitted between devices.
Read also:Luis Zahera The Rising Star In The World Of Entertainment
Setting Up Ubuntu for IoT SSH
Installing Ubuntu on Your Device
To begin, you need to install Ubuntu on your IoT device. Choose the appropriate version of Ubuntu for your hardware and follow the installation instructions provided by Canonical.
Configuring Network Settings
Once Ubuntu is installed, configure the network settings to ensure proper connectivity. Use tools like NetworkManager or configure the network interfaces manually using the /etc/network/interfaces file.
Updating the System
Regularly update your Ubuntu system to ensure you have the latest security patches and features. Use the following commands to update your system:
sudo apt updatesudo apt upgrade
Configuring SSH for Secure IoT Connections
Installing SSH Server
Install the OpenSSH server on your Ubuntu system using the following command:
sudo apt install openssh-server
Verify the installation by checking the status of the SSH service:
sudo systemctl status ssh
Configuring SSH Settings
Edit the SSH configuration file located at /etc/ssh/sshd_config to enable secure settings. Some important configurations include:
- Disable password authentication:
PasswordAuthentication no - Enable key-based authentication:
PubkeyAuthentication yes - Set a non-standard port:
Port 2222
Restarting SSH Service
After making changes to the SSH configuration, restart the SSH service to apply them:
sudo systemctl restart ssh
Setting Up P2P SSH Connections
Understanding P2P SSH
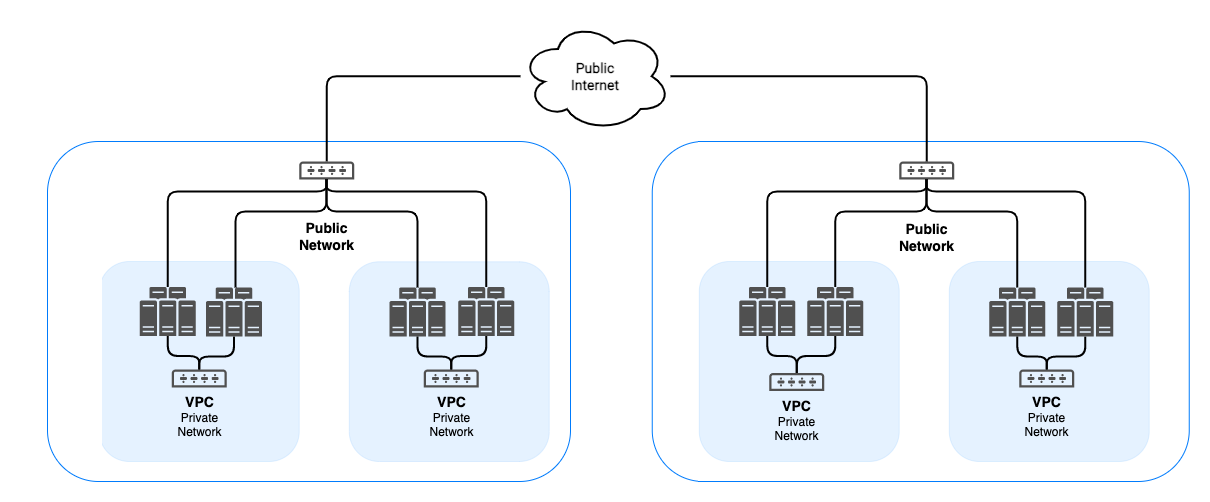
Peer-to-Peer (P2P) SSH connections allow IoT devices to communicate directly without relying on a central server. This setup reduces latency and improves security by minimizing the attack surface.
Configuring P2P SSH
To set up P2P SSH connections, ensure both devices have SSH installed and configured. Use SSH keys to establish trust between devices and configure firewall rules to allow P2P communication.
Testing the Connection
Test the P2P SSH connection by initiating an SSH session from one device to another:
ssh -p 2222 user@remote-device-ip
Implementing Firewall Rules for Security
Using UFW for Firewall Management
Ubuntu's Uncomplicated Firewall (UFW) is a user-friendly tool for managing firewall rules. Enable UFW and allow SSH traffic on the specified port:
sudo ufw allow 2222/tcpsudo ufw enable
Advanced Firewall Configurations
For more advanced configurations, consider using tools like iptables or firewalld. These tools provide greater flexibility and control over network traffic.
Monitoring Firewall Logs
Regularly monitor firewall logs to detect and respond to potential security threats. Use the following command to view firewall logs:
sudo tail -f /var/log/ufw.log
Enhancing Security with Encryption
Understanding Encryption in SSH
SSH uses encryption to secure data transmitted between devices. The most common encryption algorithms used in SSH are AES, RSA, and ECDSA.
Configuring Encryption Settings
Enhance encryption by specifying strong ciphers and key exchange algorithms in the SSH configuration file:
Ciphers aes256-ctr,aes192-ctr,aes128-ctrKexAlgorithms curve25519-sha256@libssh.org,diffie-hellman-group-exchange-sha256
Testing Encryption Strength
Test the encryption strength of your SSH connection using tools like Nmap or OpenSSL. These tools can help identify vulnerabilities and ensure secure communication.
Managing SSH Keys Effectively
Generating SSH Keys
Create SSH keys using the following command:
ssh-keygen -t rsa -b 4096
This command generates a 4096-bit RSA key pair for enhanced security.
Exchanging SSH Keys
Exchange SSH keys between devices to establish trust. Use the following command to copy your public key to a remote device:
ssh-copy-id user@remote-device-ip
Revoking SSH Keys
Revoke compromised SSH keys by removing them from the authorized_keys file:
sudo nano ~/.ssh/authorized_keys
Manually delete the compromised key from the file and save the changes.
Troubleshooting Common Issues
Connection Refused Errors
If you encounter a "Connection refused" error, ensure the SSH service is running and the firewall rules allow SSH traffic on the specified port.
Authentication Failures
Authentication failures may occur due to incorrect key configurations or disabled password authentication. Verify the SSH configuration file and ensure the correct keys are being used.
Performance Issues
Performance issues can arise from weak encryption algorithms or high network latency. Optimize encryption settings and use tools like traceroute to diagnose network issues.
Conclusion and Next Steps
In conclusion, securely connecting remote IoT devices through P2P SSH on Ubuntu requires a combination of proper configuration, encryption, and key management. By following the steps outlined in this guide, you can create a robust and secure IoT network that protects sensitive data and ensures reliable communication.
We encourage you to implement the best practices discussed in this article and stay updated with the latest security trends. If you have any questions or feedback, please leave a comment below. Additionally, feel free to share this article with others who may find it useful. For more in-depth guides and tutorials, explore our other resources on the website.
References: