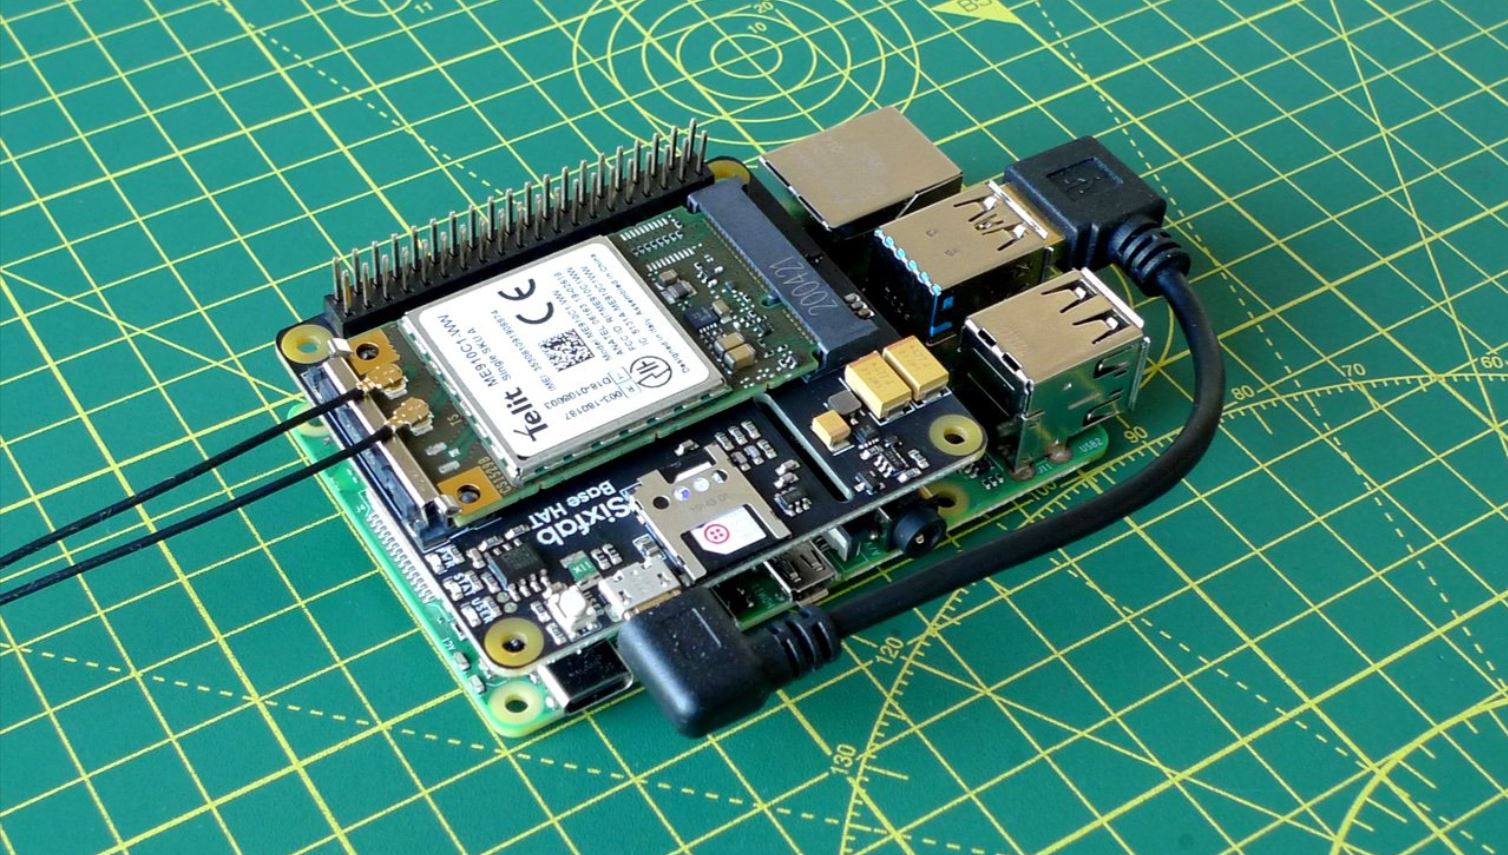
In today's interconnected world, finding the best SSH remote IoT device Raspberry Pi free solution has become a top priority for tech enthusiasts and professionals alike. Whether you're a hobbyist or an experienced developer, leveraging the power of Raspberry Pi with SSH can open up endless possibilities for remote control and automation. In this comprehensive guide, we will explore everything you need to know about setting up and utilizing SSH on Raspberry Pi for IoT projects.
SSH (Secure Shell) is a vital tool for managing and controlling remote devices securely. When combined with the versatile Raspberry Pi, it becomes an excellent solution for IoT projects that require remote access. This article will delve into the best practices, configurations, and tools to help you maximize the potential of your Raspberry Pi as an IoT device.
Whether you're looking for a free SSH remote IoT setup or aiming to enhance your existing system, this guide will provide actionable insights and expert advice. Let's dive in!
Read also:Adam Andrzejewski Cause Of Death A Comprehensive Look Into His Life And Legacy
Table of Contents
- Introduction to SSH and Raspberry Pi
- Overview of Raspberry Pi as an IoT Device
- Understanding SSH Basics
- Setting Up SSH on Raspberry Pi
- Best IoT Projects Using SSH on Raspberry Pi
- Security Considerations for SSH Remote IoT
- Troubleshooting Common SSH Issues
- Performance Optimization Tips
- Free Resources for Raspberry Pi SSH
- Conclusion and Next Steps
Introduction to SSH and Raspberry Pi
SSH, or Secure Shell, is a protocol that provides secure communication over unsecured networks. It is widely used for remote administration and file transfers. Raspberry Pi, on the other hand, is a compact and affordable single-board computer that has become a favorite among hobbyists and professionals for its versatility in IoT applications.
Why Use Raspberry Pi for IoT?
Raspberry Pi offers several advantages when used as an IoT device:
- Cost-effective hardware
- Compact and energy-efficient design
- Support for a wide range of operating systems
- Extensive community support and resources
By combining SSH with Raspberry Pi, users can securely manage and monitor their IoT devices from anywhere in the world.
Overview of Raspberry Pi as an IoT Device
Raspberry Pi has become a cornerstone in the world of IoT due to its flexibility and affordability. It supports a variety of sensors, actuators, and communication protocols, making it ideal for building smart home systems, environmental monitoring tools, and more.
Key Features of Raspberry Pi
- GPIO pins for hardware interfacing
- Support for Wi-Fi and Bluetooth connectivity
- Compatibility with Linux-based operating systems
- Extensive documentation and community support
These features make Raspberry Pi an excellent choice for both beginners and advanced users looking to explore IoT applications.
Understanding SSH Basics
SSH is a network protocol that allows secure communication between two devices over an unsecured network. It encrypts all data transmitted, ensuring that sensitive information remains protected from unauthorized access.
Read also:Zander Ryan Mccready A Rising Star In The Music Industry
How Does SSH Work?
SSH works by establishing a secure connection between a client and a server. Here's a brief overview of the process:
- The client initiates a connection request to the server.
- The server authenticates the client using passwords or public key authentication.
- Once authenticated, a secure channel is established for data transfer.
This secure channel ensures that all commands and data exchanged between the client and server remain confidential and tamper-proof.
Setting Up SSH on Raspberry Pi
Configuring SSH on Raspberry Pi is a straightforward process. Follow these steps to enable SSH on your device:
Enabling SSH on Raspberry Pi
- Power off your Raspberry Pi and insert the SD card into your computer.
- Create an empty file named "ssh" (without any extension) in the boot partition of the SD card.
- Insert the SD card back into your Raspberry Pi and power it on.
- SSH will now be enabled by default.
Connecting to Raspberry Pi via SSH
To connect to your Raspberry Pi remotely, you will need the IP address of the device. Use the following command to find the IP address:
hostname -I
Once you have the IP address, use an SSH client like PuTTY (Windows) or Terminal (Mac/Linux) to establish a connection:
ssh pi@
Enter the default password ("raspberry") when prompted, and you will be logged into your Raspberry Pi remotely.
Best IoT Projects Using SSH on Raspberry Pi
Here are some exciting IoT projects you can undertake using SSH on Raspberry Pi:
Smart Home Automation
Use Raspberry Pi to control smart home devices such as lights, thermostats, and security systems. SSH allows you to manage these devices remotely, ensuring convenience and security.
Environmental Monitoring
Set up sensors to monitor temperature, humidity, and air quality. With SSH, you can access real-time data from anywhere and make informed decisions about your environment.
Remote Surveillance System
Create a surveillance system using a camera module and Raspberry Pi. SSH enables you to access live footage and manage the system remotely.
Security Considerations for SSH Remote IoT
While SSH provides a secure method for remote access, it is essential to implement additional security measures to protect your IoT devices:
Change Default Credentials
Always change the default username and password of your Raspberry Pi to prevent unauthorized access.
Enable Public Key Authentication
Use public key authentication instead of passwords for added security. This method eliminates the risk of brute-force attacks.
Regularly Update Software
Keep your Raspberry Pi's operating system and software up to date to protect against vulnerabilities.
Troubleshooting Common SSH Issues
Here are some common SSH issues and their solutions:
Unable to Connect via SSH
Ensure that SSH is enabled on your Raspberry Pi and that the IP address is correct. Check your network configuration and firewall settings to allow SSH traffic.
Password Authentication Failed
Verify that you are using the correct username and password. If you have enabled public key authentication, ensure that the keys are correctly configured.
Performance Optimization Tips
To ensure optimal performance of your SSH remote IoT setup, consider the following tips:
Use Compression
Enable SSH compression to reduce data transfer times, especially over slow networks.
Limit User Access
Restrict SSH access to specific users or IP addresses to enhance security and performance.
Monitor Resource Usage
Regularly monitor CPU, memory, and disk usage on your Raspberry Pi to identify and address performance bottlenecks.
Free Resources for Raspberry Pi SSH
Here are some free resources to help you get started with SSH on Raspberry Pi:
Official Raspberry Pi Documentation
The official Raspberry Pi documentation provides comprehensive guides and tutorials for setting up and using SSH: https://www.raspberrypi.org/documentation/
Online Forums and Communities
Join online forums and communities like Reddit's r/RaspberryPi and Stack Overflow to connect with other users and get expert advice.
Conclusion and Next Steps
In conclusion, the best SSH remote IoT device Raspberry Pi free setup offers immense potential for innovation and automation. By following the steps outlined in this guide, you can harness the power of SSH to securely manage and control your IoT devices from anywhere in the world.
We encourage you to experiment with different projects and configurations to fully explore the capabilities of your Raspberry Pi. Don't forget to share your experiences and insights in the comments below. For more articles and tutorials, explore our website and stay updated on the latest trends in IoT and technology.