SSH Raspberry Pi IoT Tutorial is your stepping stone to mastering remote management and automation. Whether you're a beginner or an experienced developer, this guide will provide you with all the knowledge you need to set up and secure your IoT projects using SSH on Raspberry Pi.
In the fast-evolving world of technology, the Internet of Things (IoT) has become a cornerstone for innovation. From home automation to industrial applications, IoT continues to reshape how we interact with devices and data. At the heart of many IoT projects lies the Raspberry Pi—a versatile, cost-effective single-board computer. By leveraging SSH (Secure Shell), you can remotely access and control your Raspberry Pi, enabling seamless management of IoT systems.
This SSH Raspberry Pi IoT tutorial is designed to be comprehensive, offering step-by-step instructions, expert tips, and valuable insights to ensure your IoT projects are not only functional but also secure and scalable. Let's dive in and explore the possibilities!
Read also:Sandra Bullock The Truth Behind The Controversial Claim That Sandra Bullock Is A Man
Table of Contents
- Introduction to SSH
- Raspberry Pi Overview
- Why SSH for IoT Projects
Setup SSH on Raspberry Pi
Connecting to Raspberry Pi via SSH
- Securing Your SSH Connection
- SSH Tips and Tricks
- Advanced SSH Configurations
- Troubleshooting Common Issues
- Conclusion and Next Steps
Introduction to SSH
Secure Shell (SSH) is a cryptographic network protocol used for secure communication over unsecured networks. It enables remote command-line login and data transfer between devices. SSH is widely regarded as a secure alternative to unencrypted protocols like Telnet and FTP. For IoT enthusiasts and developers, SSH provides a reliable way to manage and interact with remote devices such as the Raspberry Pi.
SSH operates on port 22 by default and uses public-key cryptography to authenticate connections. This ensures that only authorized users can access the device remotely. In the context of IoT, SSH allows you to manage your Raspberry Pi-based projects without needing physical access, making it an indispensable tool for remote administration.
Key Benefits of SSH:
- Secure and encrypted communication
- Remote access to devices
- Supports file transfers through SCP/SFTP
- Compatible with various operating systems
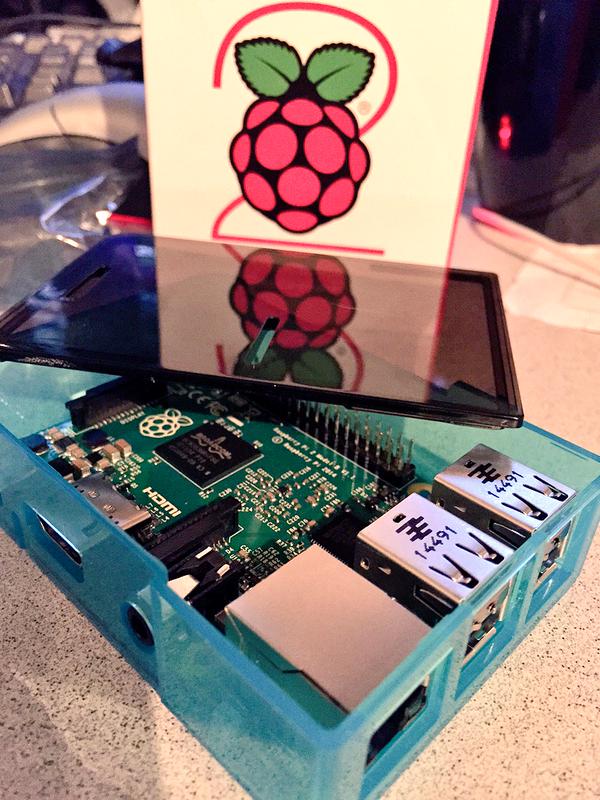
Raspberry Pi Overview
The Raspberry Pi is a compact, low-cost single-board computer that has revolutionized the maker community. Originally developed as an educational tool, it has since become a favorite among hobbyists, developers, and professionals alike. The Raspberry Pi's versatility makes it ideal for a wide range of applications, from media centers to robotics and IoT projects.
There are several models of Raspberry Pi available, each offering different specifications and capabilities. The Raspberry Pi 4 Model B, for instance, features a quad-core processor, up to 8GB of RAM, and dual HDMI outputs, making it suitable for demanding tasks. Regardless of the model, all Raspberry Pi boards come with GPIO pins, which allow for easy integration with sensors, actuators, and other peripherals.
Why SSH for IoT Projects
When it comes to IoT projects, managing devices remotely is often a necessity. SSH offers several advantages that make it the preferred choice for IoT developers:
Read also:Funny Trump Quotes A Collection Of Memorable And Entertaining Remarks
- Security: SSH encrypts all data transmitted between the client and server, protecting sensitive information from interception.
- Convenience: With SSH, you can manage your Raspberry Pi from anywhere in the world, as long as you have an internet connection.
- Automation: SSH enables the execution of scripts and commands remotely, streamlining repetitive tasks.
- Scalability: SSH can handle multiple devices simultaneously, making it perfect for managing IoT networks.
By incorporating SSH into your IoT workflow, you can enhance both the efficiency and security of your projects.
Setup SSH on Raspberry Pi
Enabling SSH on your Raspberry Pi is a straightforward process. Follow these steps to get started:
- Access the Raspberry Pi Configuration: From the desktop, click on the Raspberry icon in the top-left corner, navigate to Preferences, and select Raspberry Pi Configuration.
- Enable SSH: Go to the Interfaces tab and set SSH to Enabled. Click OK to save the changes.
- Alternative Method (Command Line): Open the terminal and type
sudo raspi-config. Navigate to Interfacing Options, select SSH, and choose Yes to enable it.
Once SSH is enabled, your Raspberry Pi will be ready to accept remote connections.
Connecting to Raspberry Pi via SSH
To connect to your Raspberry Pi using SSH, you'll need the device's IP address and credentials. Here's how you can establish a connection:
- Find the IP Address: Use the command
ifconfigorip addrin the terminal to find the Raspberry Pi's IP address. - Use an SSH Client: On Windows, you can use PuTTY or Windows Terminal. On macOS and Linux, the built-in terminal supports SSH.
- Establish the Connection: Enter the command
ssh pi@and provide the password when prompted.
With these steps, you'll be able to access your Raspberry Pi remotely via SSH.
Securing Your SSH Connection
While SSH is inherently secure, additional measures can further enhance its protection:
- Change the Default Port: Modify the SSH port from 22 to a non-standard number to deter automated attacks.
- Disable Root Login: Restrict direct root access to prevent unauthorized users from gaining administrative privileges.
- Use Key-Based Authentication: Replace password-based authentication with SSH keys for added security.
- Implement Firewall Rules: Configure your firewall to allow SSH traffic only from trusted IP addresses.
By implementing these security practices, you can safeguard your Raspberry Pi and its IoT applications.
SSH Tips and Tricks
Here are some useful tips to make the most out of SSH:
- SSH Tunneling: Use SSH tunnels to securely access services running on your Raspberry Pi, such as databases or web servers.
- SSH Aliases: Create aliases in your SSH configuration file to simplify connection commands.
- SSHFS: Mount remote file systems using SSHFS for easy file management.
- SSH Batch Mode: Automate SSH commands without requiring user input, ideal for scripting.
These tips can streamline your workflow and enhance your productivity when working with SSH.
Advanced SSH Configurations
For advanced users, customizing the SSH configuration file can unlock additional capabilities:
- Edit the SSH Config File: Modify
/etc/ssh/sshd_configto adjust settings such as login attempts, idle timeouts, and allowed users. - Enable Two-Factor Authentication: Integrate Google Authenticator or similar tools for an extra layer of security.
- Set Up Port Forwarding: Configure SSH to forward specific ports for accessing internal services.
These advanced configurations allow you to tailor SSH to your specific needs and requirements.
Troubleshooting Common Issues
Even with careful setup, issues can arise. Here are some common problems and their solutions:
- Connection Refused: Ensure SSH is enabled and the Raspberry Pi's firewall allows SSH traffic.
- Authentication Failed: Double-check the username, password, and SSH key permissions.
- Timeout Errors: Verify the Raspberry Pi's IP address and ensure there are no network connectivity issues.
Addressing these issues promptly will help you maintain smooth SSH operations.
Conclusion and Next Steps
This SSH Raspberry Pi IoT tutorial has covered everything you need to know about setting up and securing SSH for your IoT projects. By leveraging SSH, you can remotely manage your Raspberry Pi devices with confidence and efficiency. Remember to implement best practices for security and explore advanced configurations to fully harness the power of SSH.
We encourage you to share your thoughts and experiences in the comments section below. Don't forget to explore other tutorials on our website to expand your knowledge and skills. Happy tinkering and stay connected!